e
Receiver restoration for soviet car
Any receiver gotten for the restoration is pre-tested to determine the quality of the receiver’s lamps, their compliance with the set of this receiver, as well as to establish its condition and if there were any alterations in it.
In addition, it is necessary to identify if there was any wrong lamp replacement made and if that was the case, to check whether there was any impact on the receiver after such a change.
Additionally you can check the power consumption of the receiver from the electricity mains and the voltage on the electrodes of lamps.
Cleaning and inspection of the radio receiver
Cleaning the radio receiver
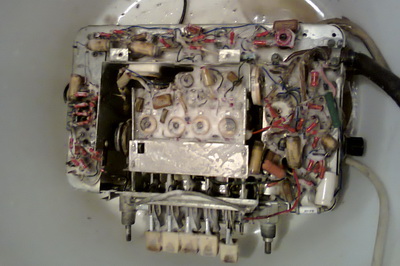
So, before you start the diagnostics, the product should be cleaned with a special solution.
Next, visually inspect the authenticity of the receiver and the presence of all components.
Lamp test can establish an open lamp filament, internal circuit between the electrodes and the presence of the emission current, but does not show distortion, pops and whistles tendency to rise because of the lack or damage of screening
Diagnostics and repair
Analysis and diagnostics of the radio receiver
If the lamp test did not reveal the problem and we are convinced that the receiver was not subjected to alteration, it must be connected to the electricity mains with the necessary voltage and type of current..
This will help to identify the different noises (humming, whistling, howling, cracks, etc.).
Failures of this kind may occur due to the damage of any part. Therefore a thorough check is needed. In addition, you need to pay serious attention to the location of the installation, the quality of soldering, shielded cables and points of their ground, lamp panels and caps.
Details are checked by testing substituting known correct.
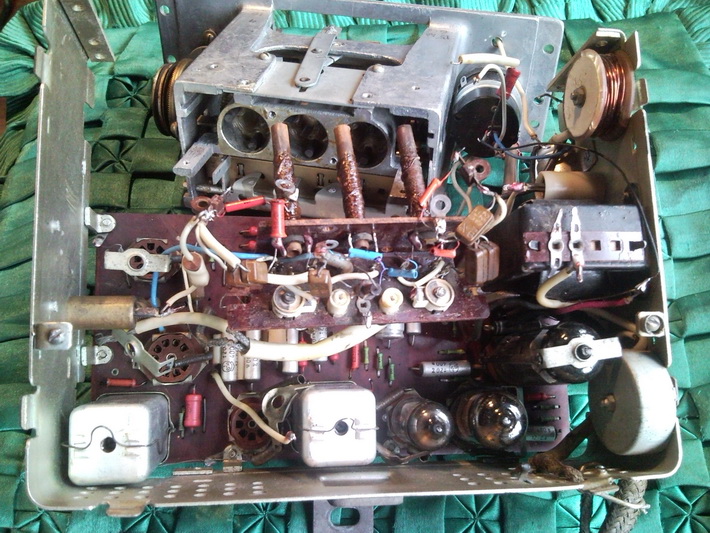
If this has no effect, radio receiver is dismantled in detail and diagnostics of lamps and other components is provided using a special device.
For example, the volume control with power switch of the car radio receiver is very often broken or worn. As well as handle – turner of the settings (vernier drive).This often happens during the incompetent dismantling of the shrink old plastic handle or the regulator is just broken.
Unfortunately, these parts for the vintage radio receivers can neither be bought nor ordered, so you have to look for the "living" donors or restore manually.
Restoration
After identifying all the faults and defects, radio receiver is assembled and adjusted to meet the authenticity of the device. That is, in the original, without any new bells and whistles.
Restoration of the radio receiver by the company "Autoclassic" is not only the repair and replacement of parts, as well as the restoration of the body, including the restoration of the appearance of the paint and repair of the speaker’s damage.
Usually you can see the diffuser gap (sound paper) in the speaker, so the first thing you need to do is to glue the broken places with a special glue, carefully with a thin thread 0.5-1 cm long we glue the joints of diffuser leaving to dry. Otherwise there will be uneven tension and deformation of the diffuser’s surface area. After gluing all the fragmentations, the total area of a circle is aligned with the alignment correction.
In conclusion, we handle some parts of the suspension and diffuser with a special solution
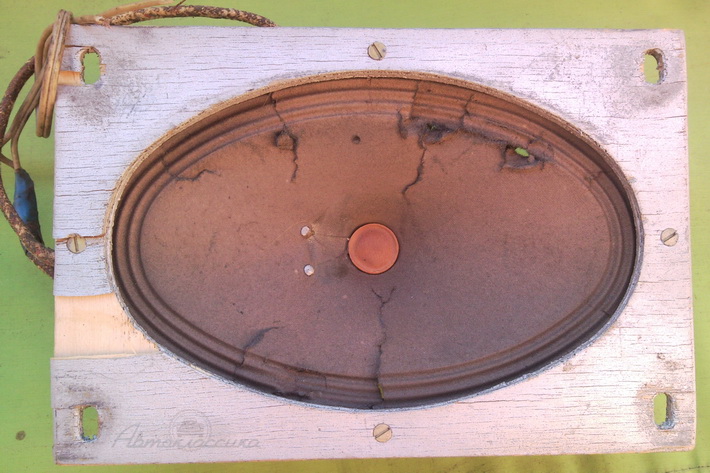
Pasting of the diffuser of the radio receiver
Now let’s speak about the restoration of the reflective boards (plywood frame).
We should impregnate it with glue and dry it under the press. Then we cover it with the silver varnish and assemble radio tissue. After we need to put the loudspeaker in a cloth bag to prevent the build-up of metal chips and dust. Gently and evenly screw into the place not to cause the deformation of the metal frame. Be sure to inspect and, if necessary, to change shielded (in metal braid) wire with a plug to prevent the ingress of interference into the ignition system, otherwise the formation of extraneous sounds appears.
Upgrade at the request of the customer
Unfortunately, even after professional repairs we are unlikely to hear the welcome tune.
Alas, our radio stations are no longer using Soviet frequencies and therefore, at the request of the customer, we can establish FM - module into the vintage car radio receiver and add a player via USB port or memory card.
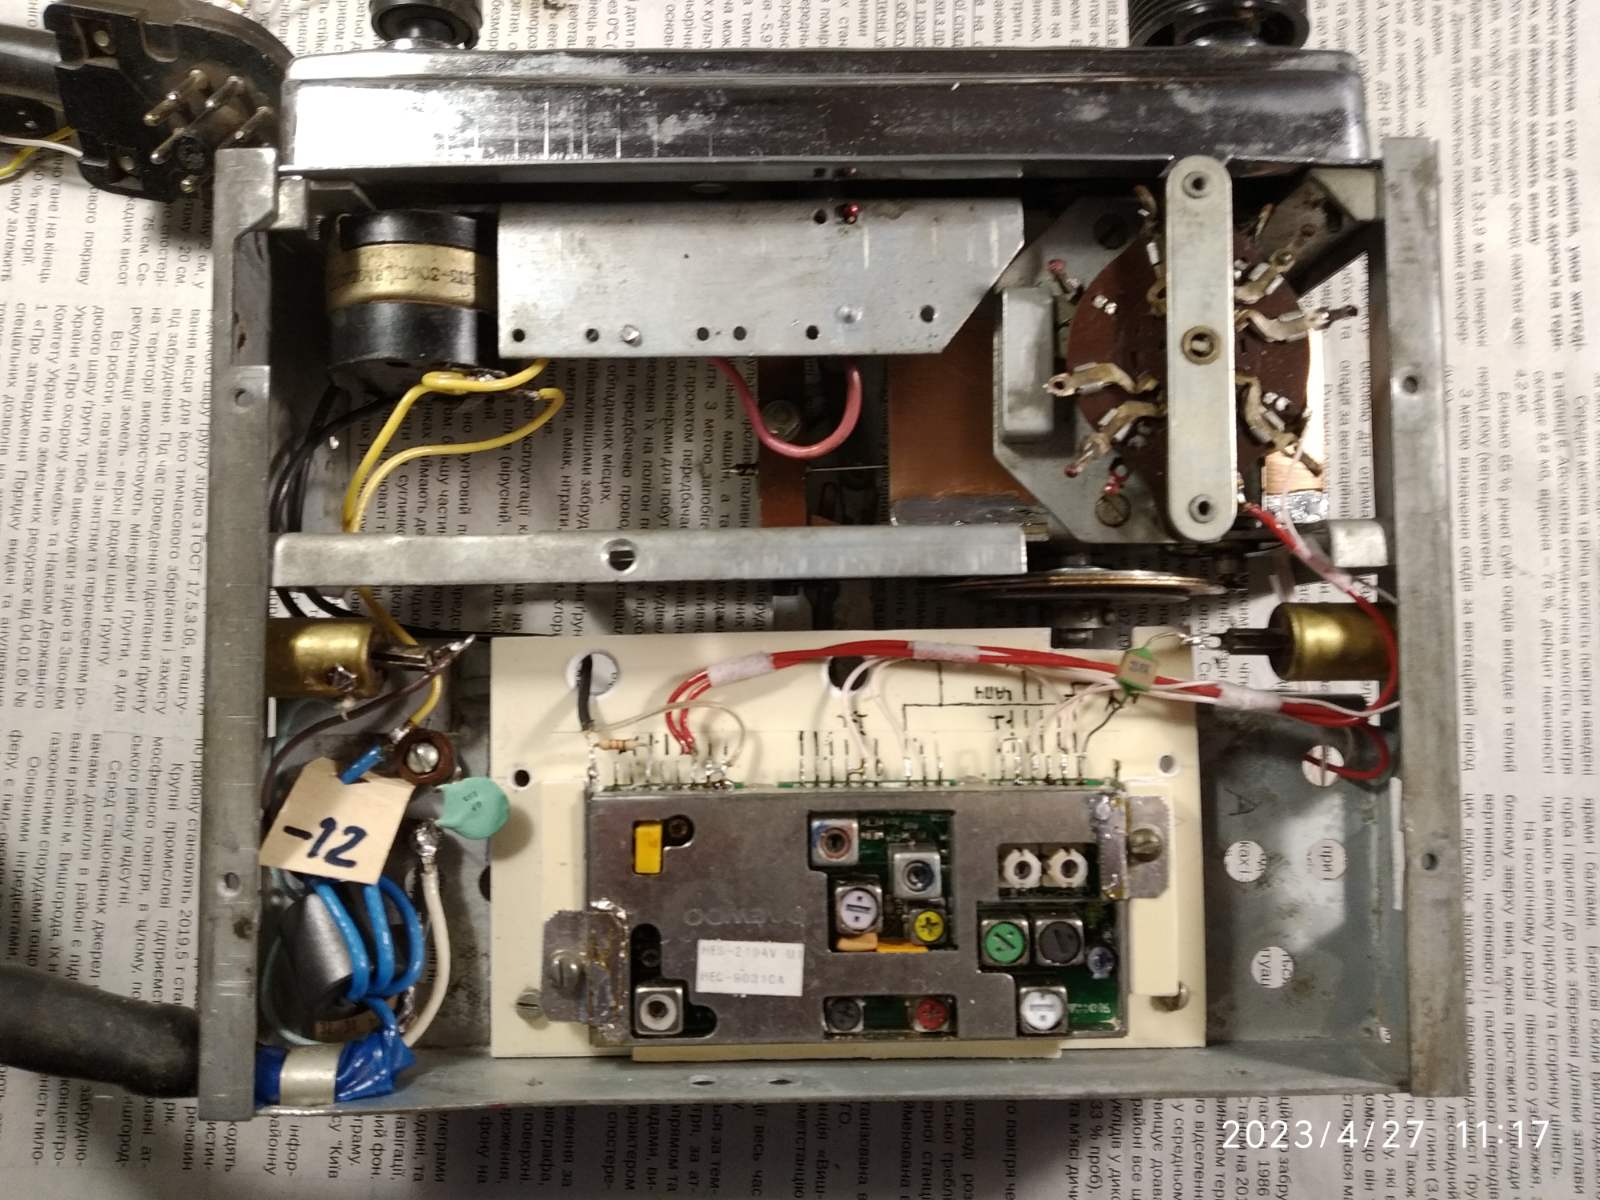 FM - module in the old radio receiver
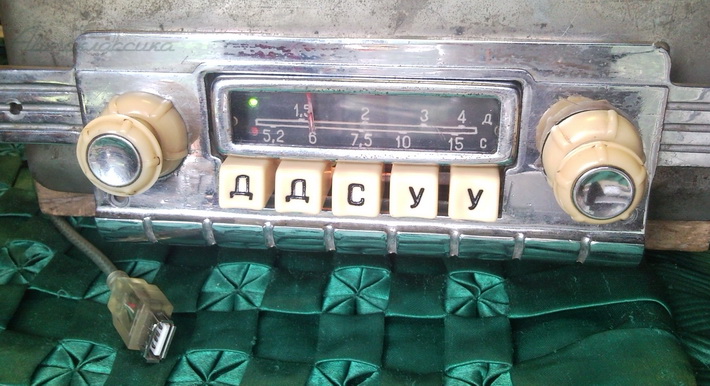
Connection via USB-port
